


Introduction
Django is a free and open-source high-level Python framework that makes it faster and easier to build and maintain websites. Built by experienced developers, it takes care of much of the hassle of web development, so you can focus on writing your app without needing to reinvent the wheel.
To learn more about Django, it's documentation and community, visit the website here
Prerequisite
Since Django is a Python framework, you need to have Python installed on your device before you can install Django. To check if you have Python installed open your command prompt and type in python. You should get an output like this
C:\Users\Zee>python
Python 3.10.6 (tags/v3.10.6:9c7b4bd, Aug  1 2022, 21:53:49) [MSC v.1932 64 bit (AMD64)] on win32
Type "help", "copyright", "credits" or "license" for more information.
>>>
If you don't, download the latest version of Python here
Creating a Virtual Environment
Virtual environments help to separate dependencies for different projects by creating an isolated environment for each project. There are various types like pipenv, venv, virtualenv and Pew (Python Environment Wrapper). I’ll be using virtualenv for this project. To install virtualenv, cd into a directory where you would like to store your code and run the following code in your shell
pip install virtualenv
Create virtual environment for the project named "env":
virtualenv env
You should see an env folder in that directory now
Activate the virtual environment:
env/scripts/activate                  for windows
env/bin/activate                        for mac
Install Django
Install the latest version of Django by running
pip install django
or install django's main development branch
pip install -e django/
. You can also install a specific version of django by running
pip install django==3.2
Creating a Project
Run the following command in the terminal to create a Django project
django-admin startproject yourprojectname
Avoid naming your projects after Python or Django's built in functions to avoid conflicts.
Running the above command would create a project directory with the following starter files:
myproject/
    manage.py
    myproject/
        __init__.py
        settings.py
        urls.py
        asgi.py
        wsgi.py
These files are:
- The outer myproject/ root directory is a container for your project. Its name doesn’t matter to Django; you can rename it to anything you like.
- manage.py: A command-line utility that lets you interact with this Django project in various ways. You can read all the details about manage.py here.
The inner myproject/ directory is the actual Python package for your project. Its name is the Python package name you’ll need to use to import anything inside it (e.g. myproject.urls).
myproject/init.py: An empty file that tells Python that this directory should be considered a Python package. You can read more about packages in the official Python Docs.
myproject/settings.py: Settings/configuration for this Django project. Django settings will tell you all about how settings work.
myproject/urls.py: The URL declarations for this Django project; a “table of contents” of your Django-powered site. You can read more about URLs here.
myproject/asgi.py: An entry-point for ASGI-compatible web servers to serve your project. See How to deploy with ASGI for more details.
mysite/wsgi.py: An entry-point for WSGI-compatible web servers to serve your project. See How to deploy with WSGI for more details.
To verify that the project works, cd into the project directory run the following command:
python manage.py runserver
You should get this output:
Watching for file changes with StatReloader
Performing system checks...
System check identified no issues (0 silenced).
You have 18 unapplied migration(s). Your project may not work properly until you apply the migrations for app(s): admin, auth, contenttypes, sessions.
Run 'python manage.py migrate' to apply them.
September 10, 2022 - 13:50:50
Django version 4.1.1, using settings 'myproject.settings'
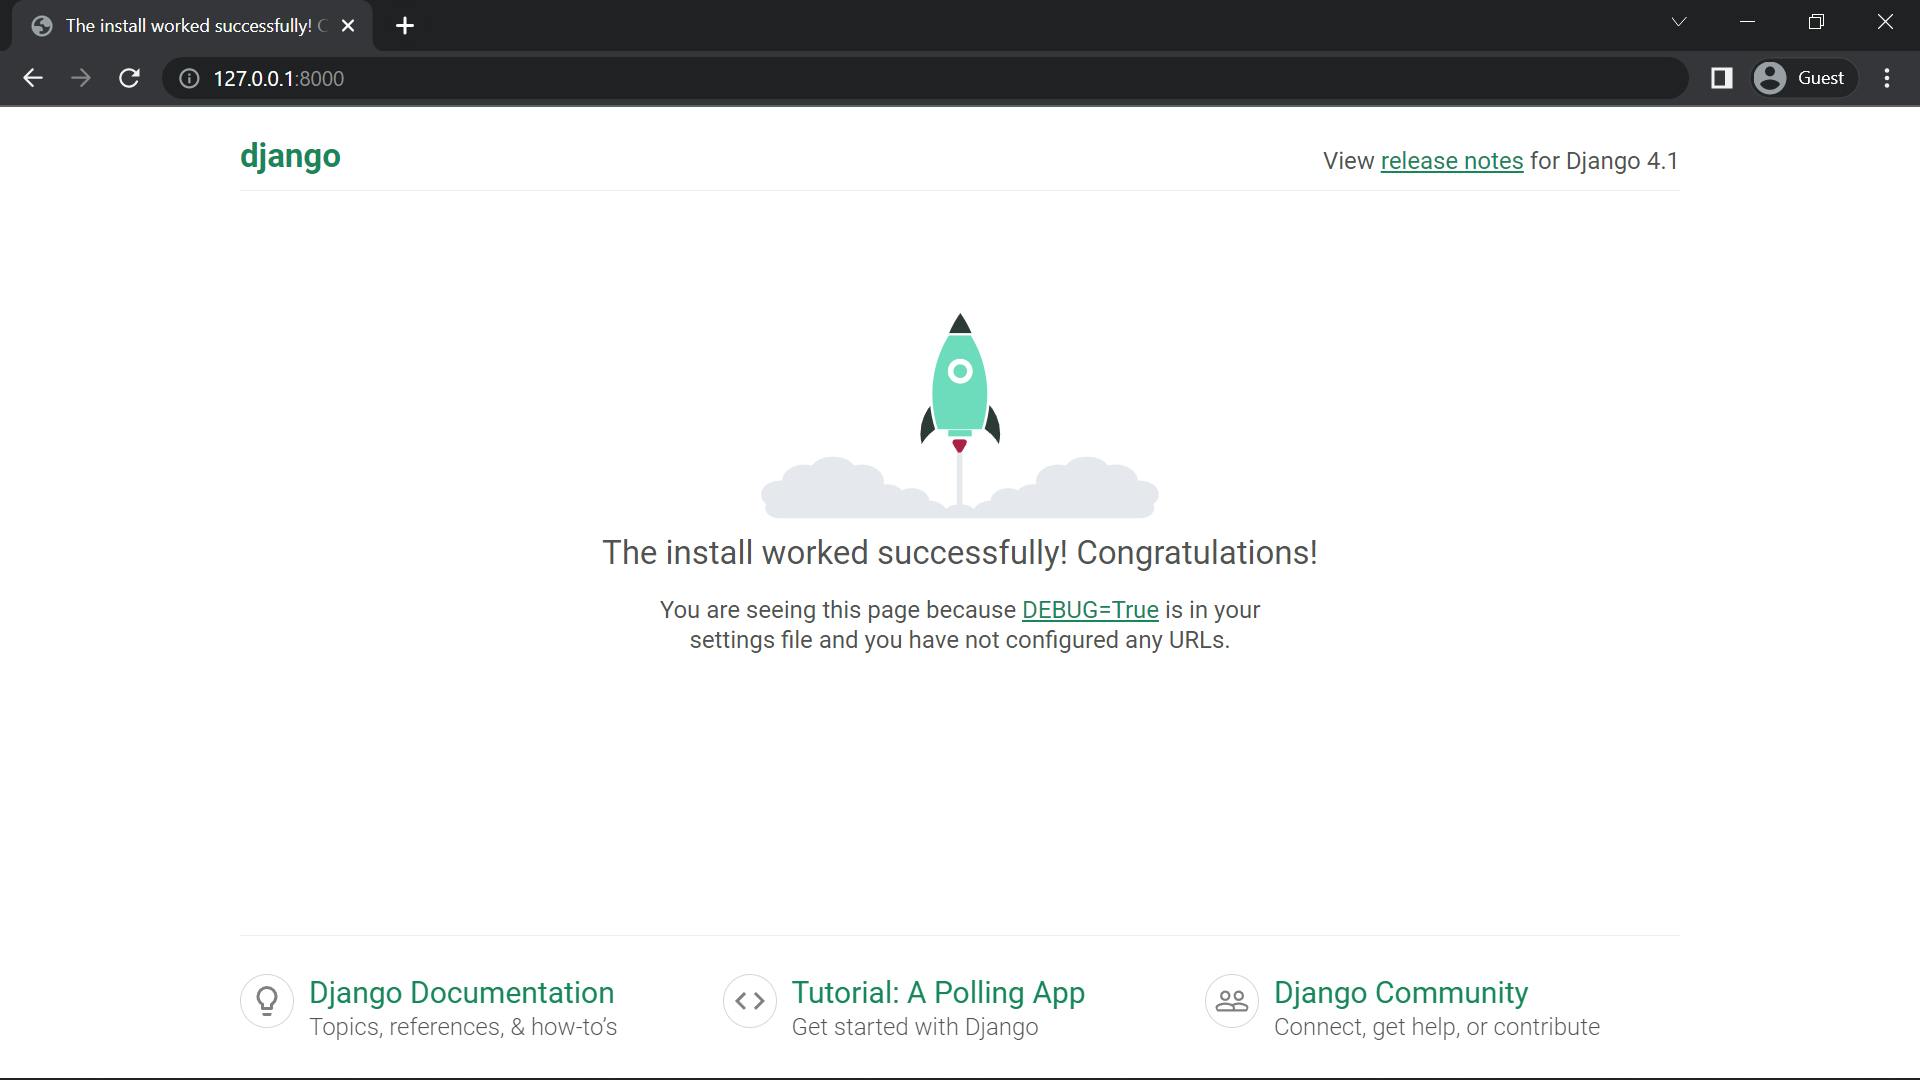
Starting development server at http://127.0.0.1:8000/
Quit the server with CTRL-BREAK.
Open the link in your browser and voila, you have successfully created your first Django project.
From the above output, the server is running on port 8000, to change the port you can run
python manage.py runserver 8000 instead, or
python manage.py runserver 0:8000 to change the server's IP.
Creating an app
To create an app, make sure you're in the same directory as the manage.py file and the run
django-admin startapp yourappname. This should create a new folder with your app name that has the following structure.
appname/
    __init__.py
    admin.py
    apps.py
    migrations/
        __init__.py
    models.py
    tests.py
    views.py
Congratulations!!! You have successfully created your first Django app.
I hope this article was detailed and explanatory enough. If you have any questions or feedback, feel free to reach out to me on Twitter. Thank you for reading.